[ad_1]
One of the key features in all of Microsoft’s latest Surface PCs is removable storage. It debuted in the Surface Laptop 3, one of the best AMD Ryzen laptops around. That includes the Surface Laptop 4 of course, so you can swap out the SSD. It’s actually a pretty rare feature in modern ultrabooks. It’s mostly unique to Surface, as even some of the best laptops don’t give you an easy way to upgrade.
But before we start, there’s something that you need to know. Microsoft does not recommend doing this. The removable SSD is meant for trained professionals, and of course, it’s not designed so that users can get around the company’s exorbitant storage tier prices.
Prerequisites


Preparation: Get your Surface Laptop 4 ready
The very first thing you need to do is back up whatever you want to keep and create a recovery media.
- If there are any files that you want to keep, drop them in OneDrive.
- Head over to Microsoft’s site for Surface recovery images.
- Select your product from the dropdown list.
- Enter the serial number, which is found on the bottom of the Surface Laptop 4.
- After clicking continue, download the image that corresponds to the version of Windows 10 that you want.

- After the ZIP file finishes downloading, extract it to the USB drive.
- Make sure that the ZIP file has finished extracting and OneDrive has finished syncing.
- Go to Settings -> Update & Security -> Recovery -> Get started. Note that this and the following steps are about how to reset your PC. They’re optional and not critical to replacing the SSD in your Surface Laptop 4, but they’re included because it’s assumed that you want to erase the existing SSD.
- Choose Remove Everything -> Local Reinstall.
- On the next screen, click the link to change settings.

- Turn on the option to clean the drive.
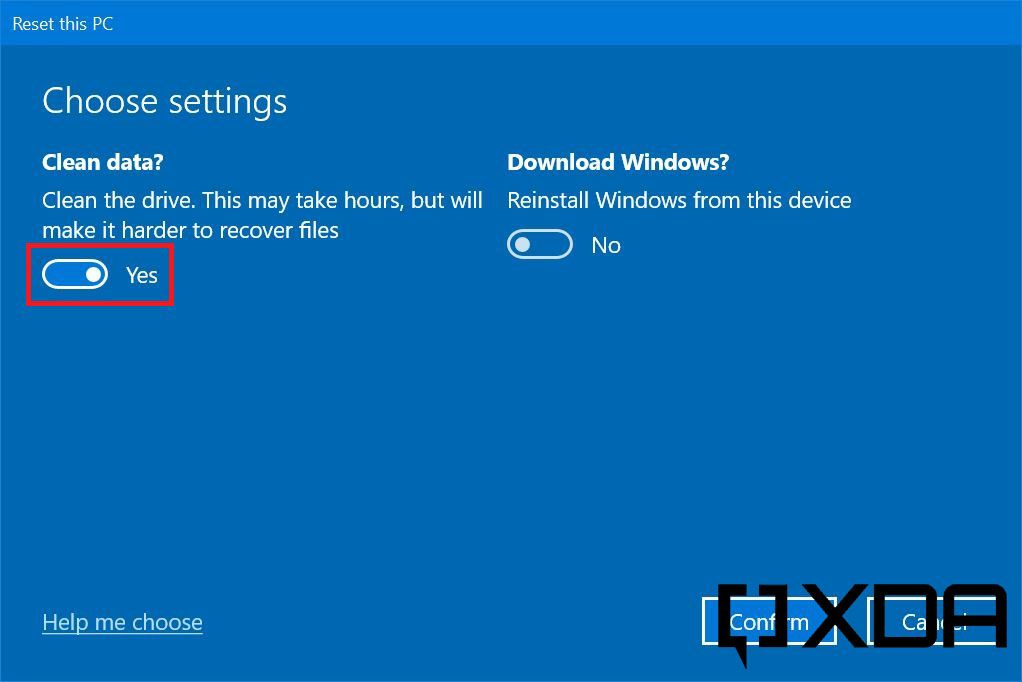
- Click confirm and follow the instructions to finish resetting your device.

Opening up the Surface Laptop 4
Opening the Surface Laptop 4 is a bit more complicated than the Surface Pro X or the Surface Pro 7+. Those devices just require a pin to pop open a lid.
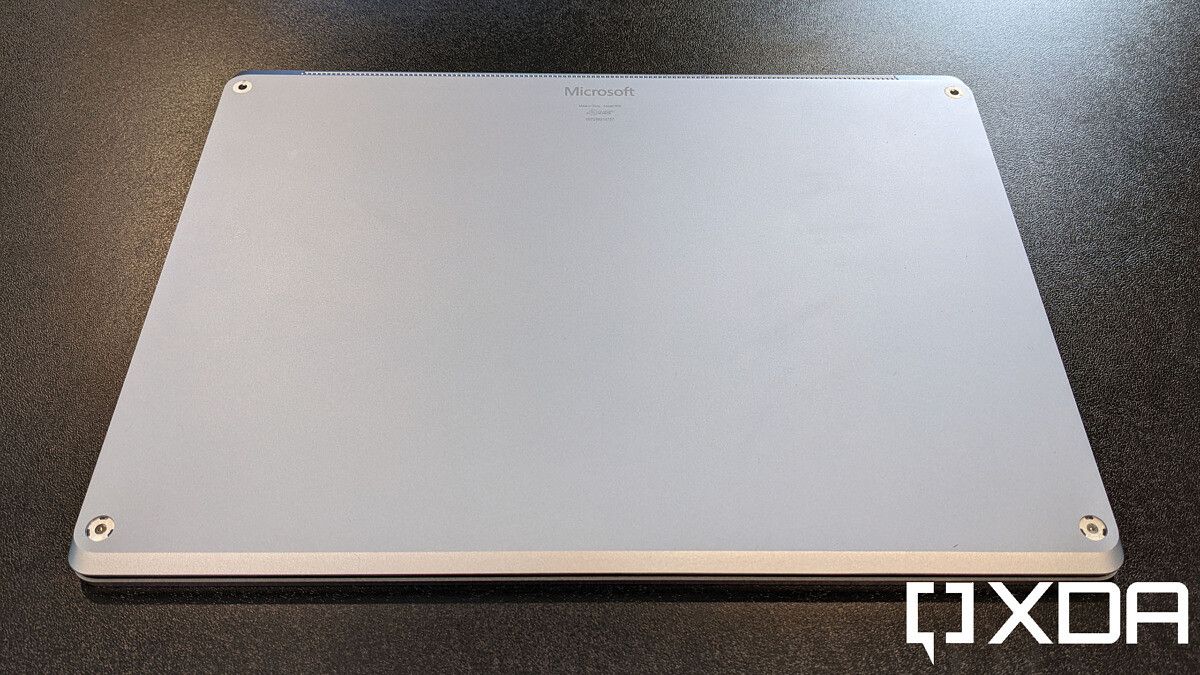
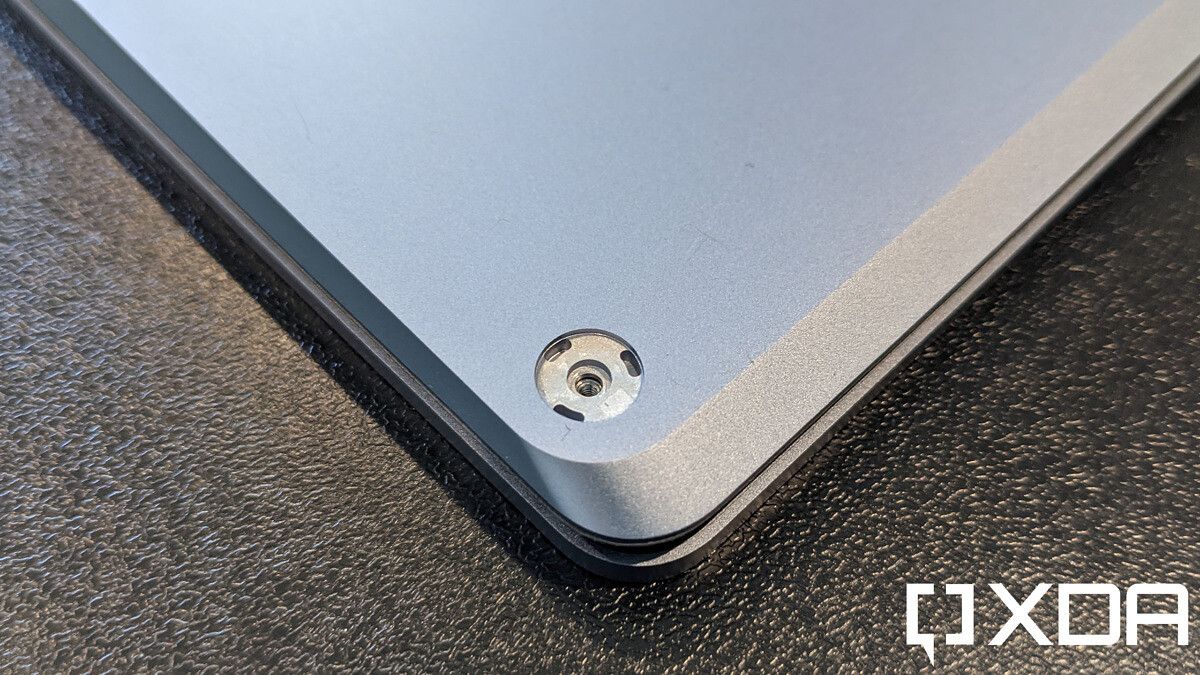
- Remove the rubber feet. This is best done with an opening tool or tweezers, but keep in mind that these are glued into place. It’s going to take a bit of effort to remove them.

- Note that there are two different kinds of feet. The two in the front have three plastic prongs, while the rear two don’t. The rear two are also deeper.

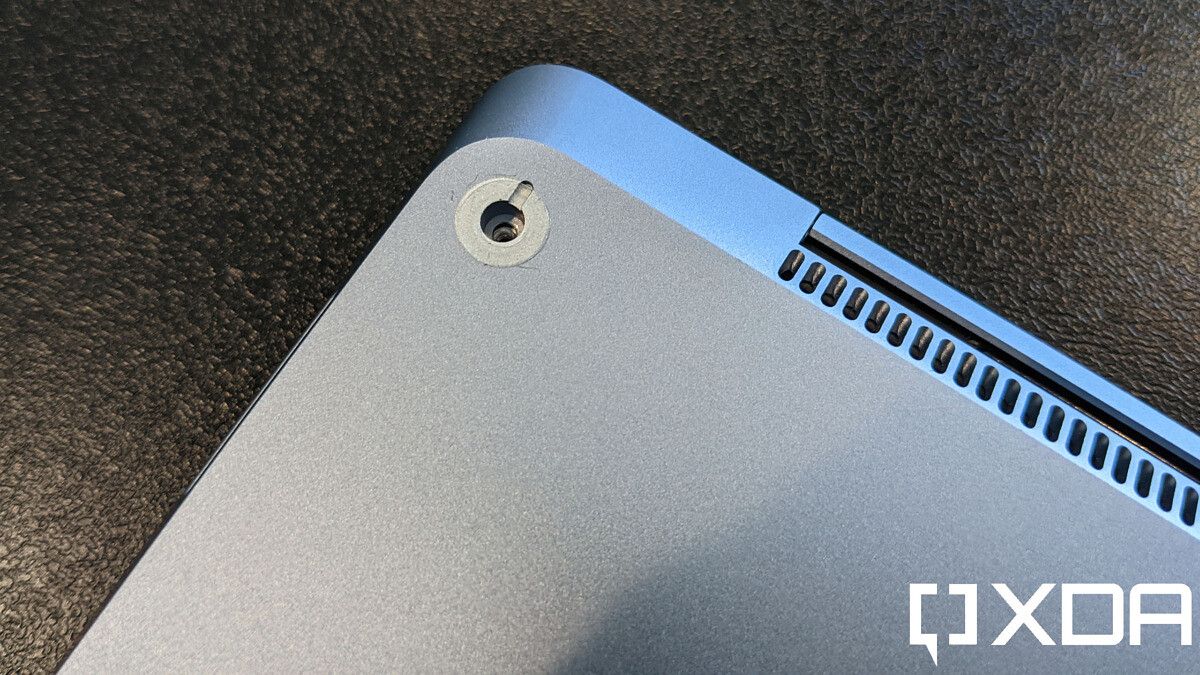
- Using the T5 Torx screwdriver, remove the four screws.
- Next, turn the Surface Laptop 4 over and open it like you normally would. Do not try and remove the base.
- In the front, use an opening tool (fingernails work too) to pull the keyboard away from the base. It’s magnetically attached, so it doesn’t take too much effort. There’s a ribbon connecting the keyboard to the base. Take note of how it’s attached before removing it.

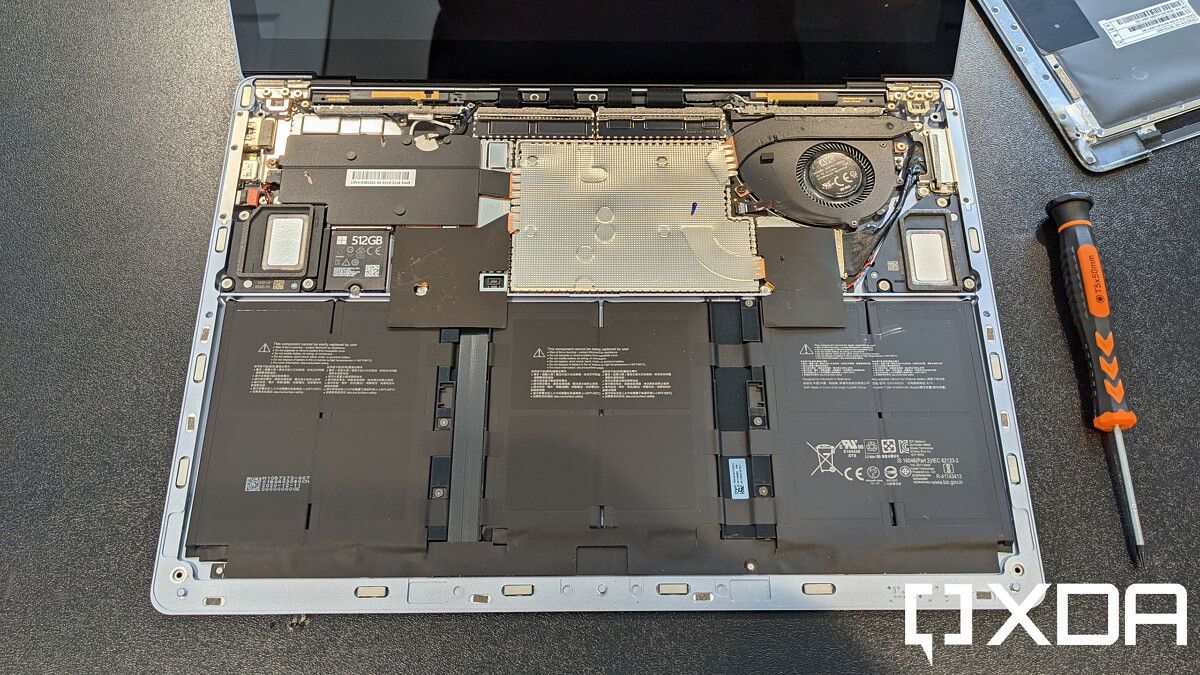
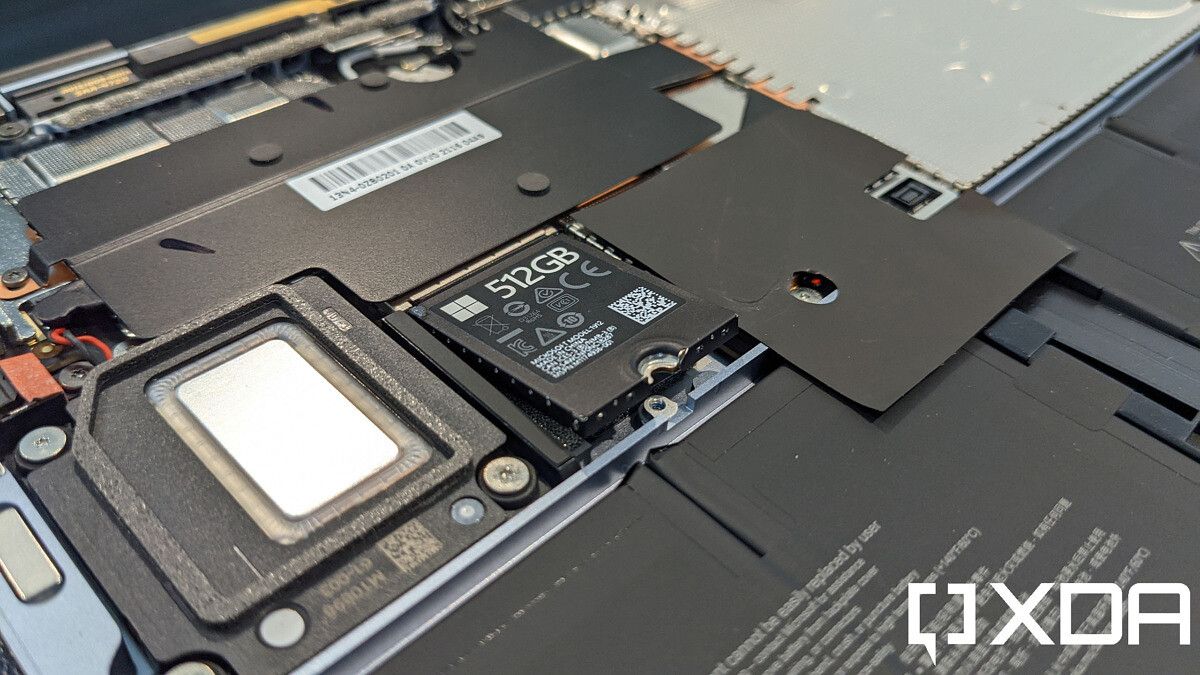
- Using the T5 Torx screwdriver, remove the screw in front of the SSD. It will pop up a bit.

- Slide the SSD out of its slot.


Installing the new SSD on the Surface Laptop 4
Now, it’s time to do the same thing, but in reverse.
- Take the new SSD and insert it into the same slot that you removed the old one from.
- Take the Torx screw and secure the new SSD.
- Secure the keyboard ribbon to the base. Make sure it snaps into place.

- Place the keyboard back on the base. It will secure itself magnetically.
- Close the laptop and flip it over.
- Screw the four Torx screws back into place.
- Pop the four rubber feet back into place. Make sure to use the right ones for each hole. For the three-prong ones, make sure to align them properly.


Reinstalling Windows 10
Now that you have a new SSD, you’ll need to install an operating system.
- Plug the USB drive that you made earlier into the USB port.
- Connect the Surface Laptop 4 to a charger.
- While holding the volume down key, press power. Continue holding volume down until you see recovery options.
- Follow the on-screen instructions to install Windows 10.
That’s it. Now, you’ve got a fresh installation of Windows 10 running on your brand new SSD in your Surface Laptop 4. In fact, you probably got a storage upgrade for much less than Microsoft would charge. You can also check out our review of the Surface Laptop 4.

- The Surface Laptop 4 has Intel’s latest processors, and a removable SSD.
[ad_2]
Source link